I learned the hard way that a one‑millimeter drift in a fin line can send stack temperatures climbing and fuel charts with them. Economizer builds live on precision, especially in fin-bar calibration, because alignment drives both thermal efficiency and structural integrity. Years in welding automation have shown me that tight calibration trims waste and keeps us inside the strict standards we work under. What follows is how the methods and technologies behind accurate fin-bar placement actually play out on the shop floor.
Understanding the Critical Role of Fin-Bar Calibration in Economizers
1. Defining Fin-Bar Calibration and its Importance
Fin-bar calibration is the precise alignment and spacing of fins on heat exchanger tubes, the core of an economizer. That discipline gives you uniform heat transfer across the entire surface. Get it right and you maximize thermal efficiency while avoiding localized overheating or underperformance. Deviations as small as a millimeter can significantly reduce an economizer’s operational effectiveness, a point I have seen confirmed more than once during commissioning.
2. How Economizer Design Influences Calibration Needs
Economizer designs vary widely, and those choices change what calibration demands. Fin type, including solid, serrated, and helical, along with fin material and tube diameter, sets the complexity of the setup. High-density fin arrangements call for tighter tolerances and more sophisticated calibration methods. Each design needs a tailored approach to preserve the intended heat exchange characteristics.
3. The Impact of Inaccurate Calibration on Performance and Efficiency
When fin-bars are not calibrated correctly, the trouble shows up quickly. Misaligned fins disrupt airflow, cut heat transfer efficiency, and push fuel consumption higher. If spacing is off, fouling and corrosion show up early and components fail before their time. The end result is higher operating costs and a shorter service life for the economizer.
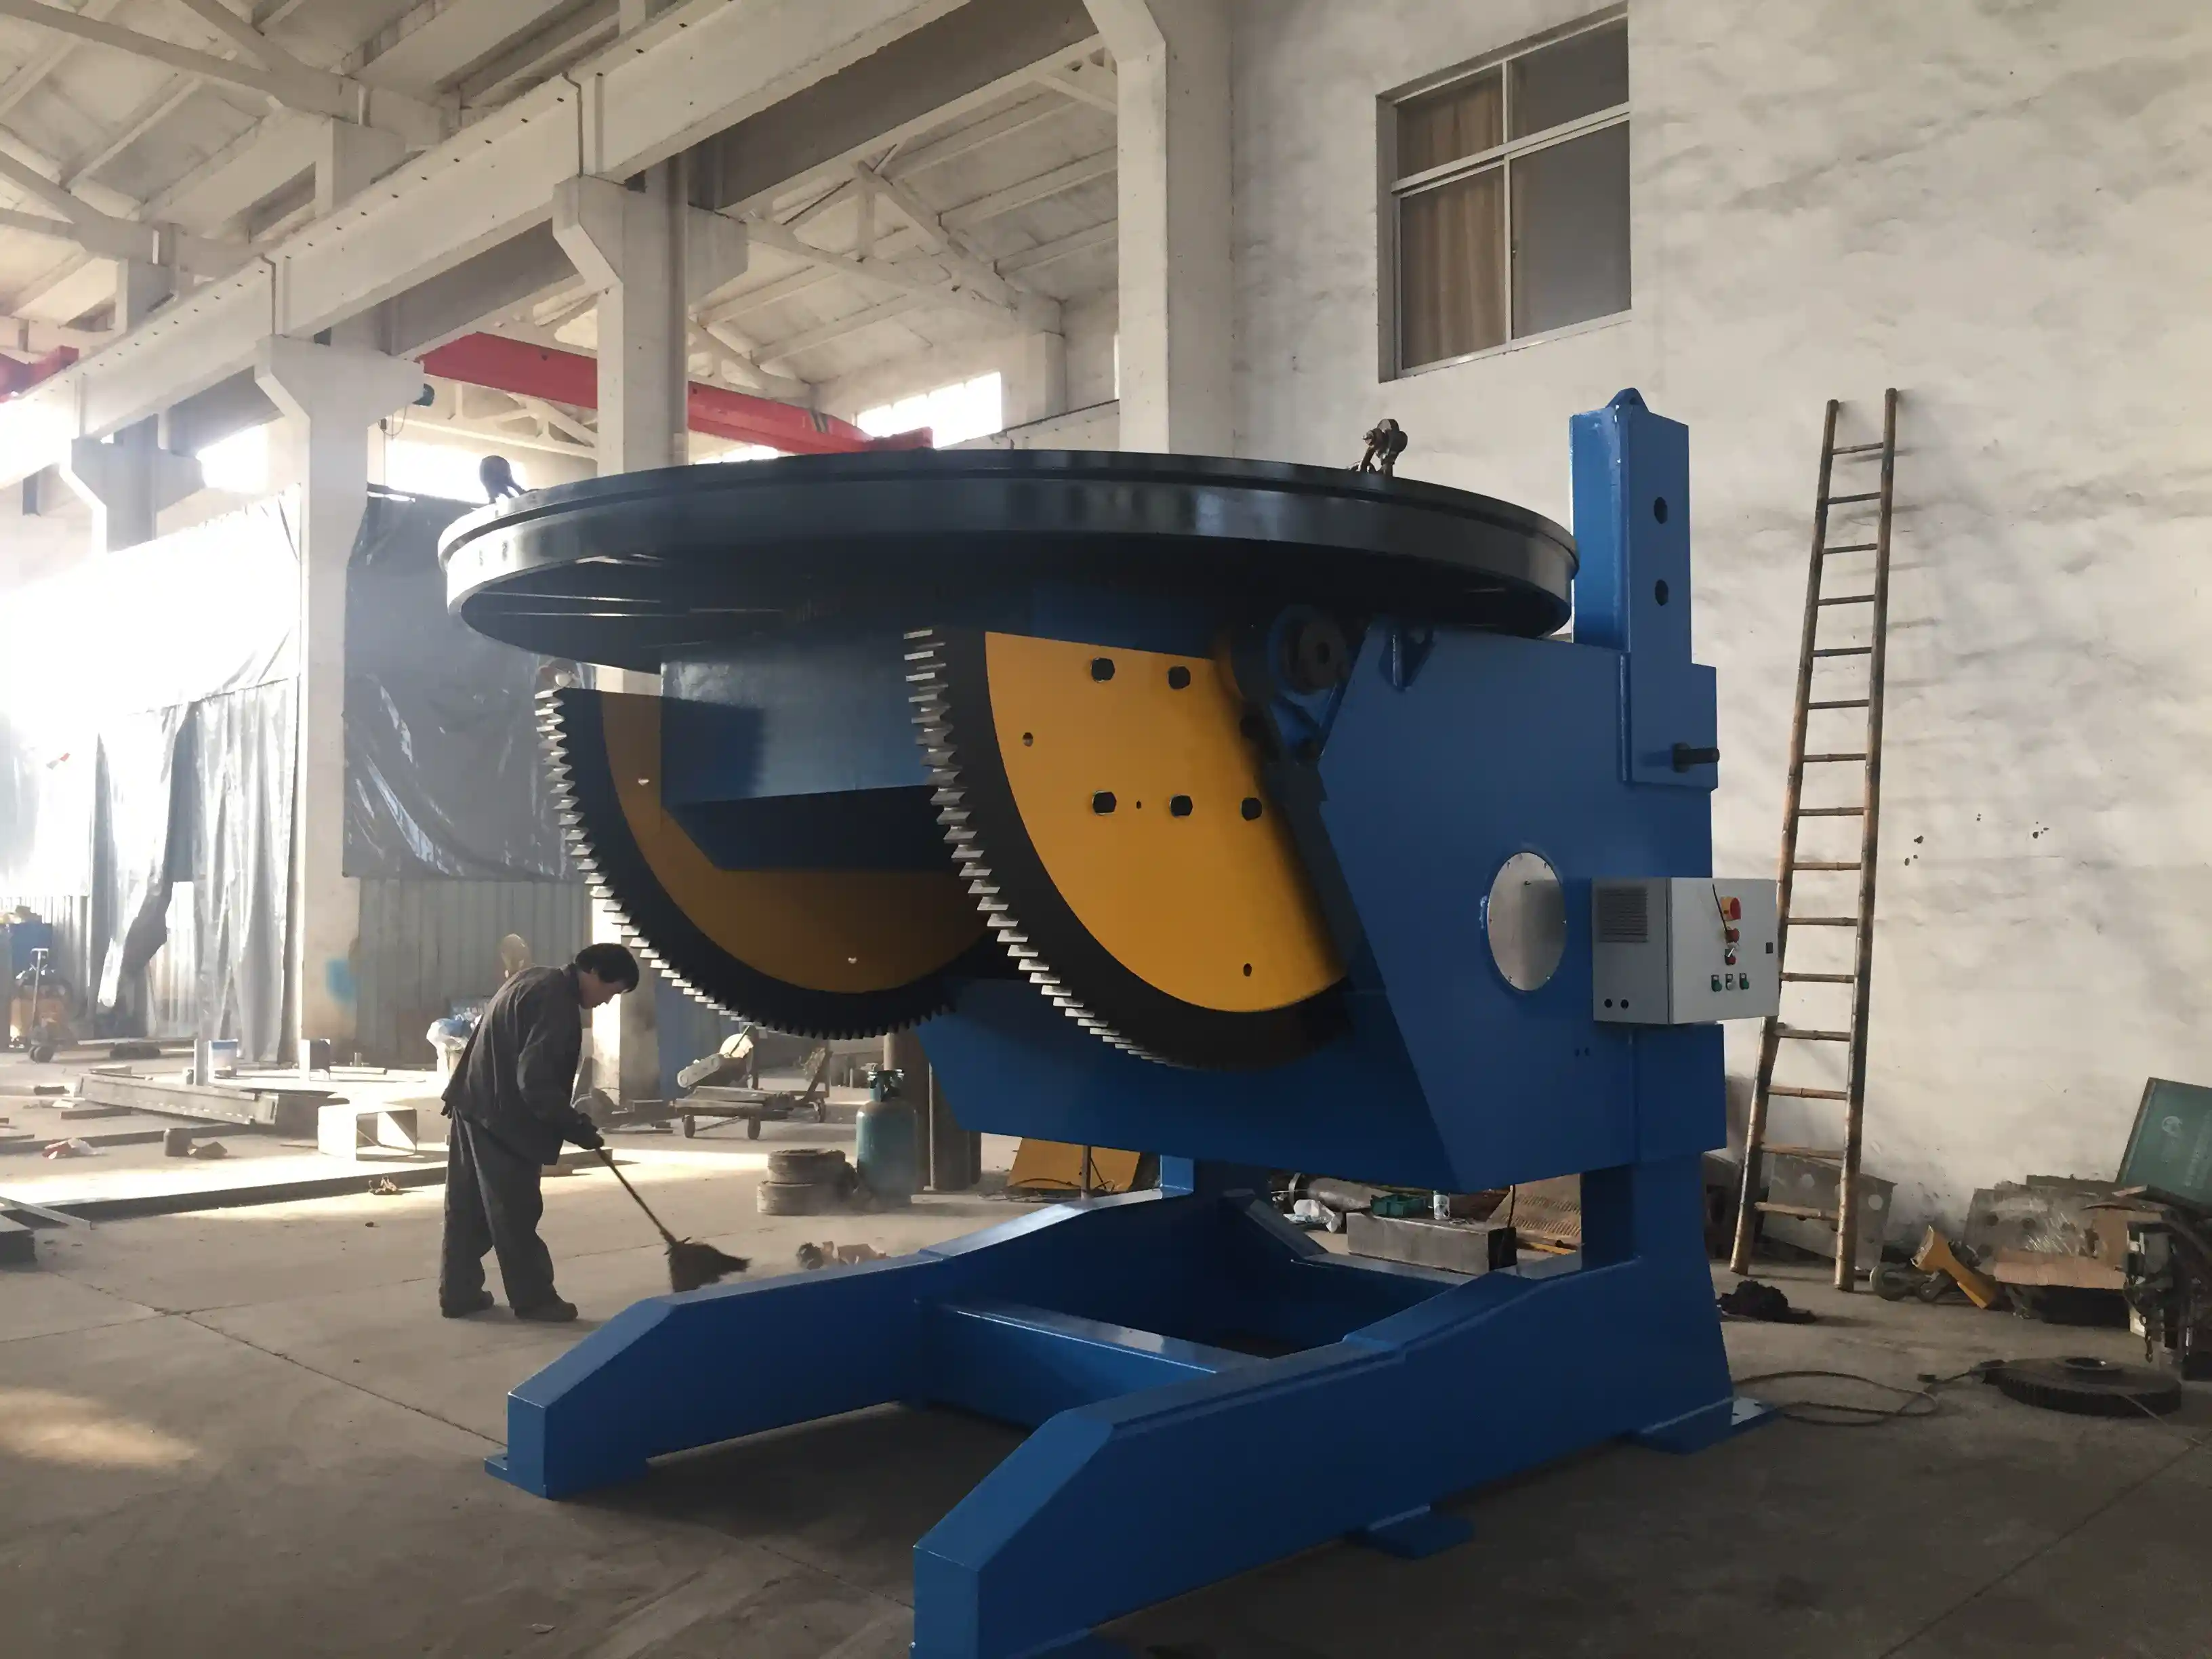
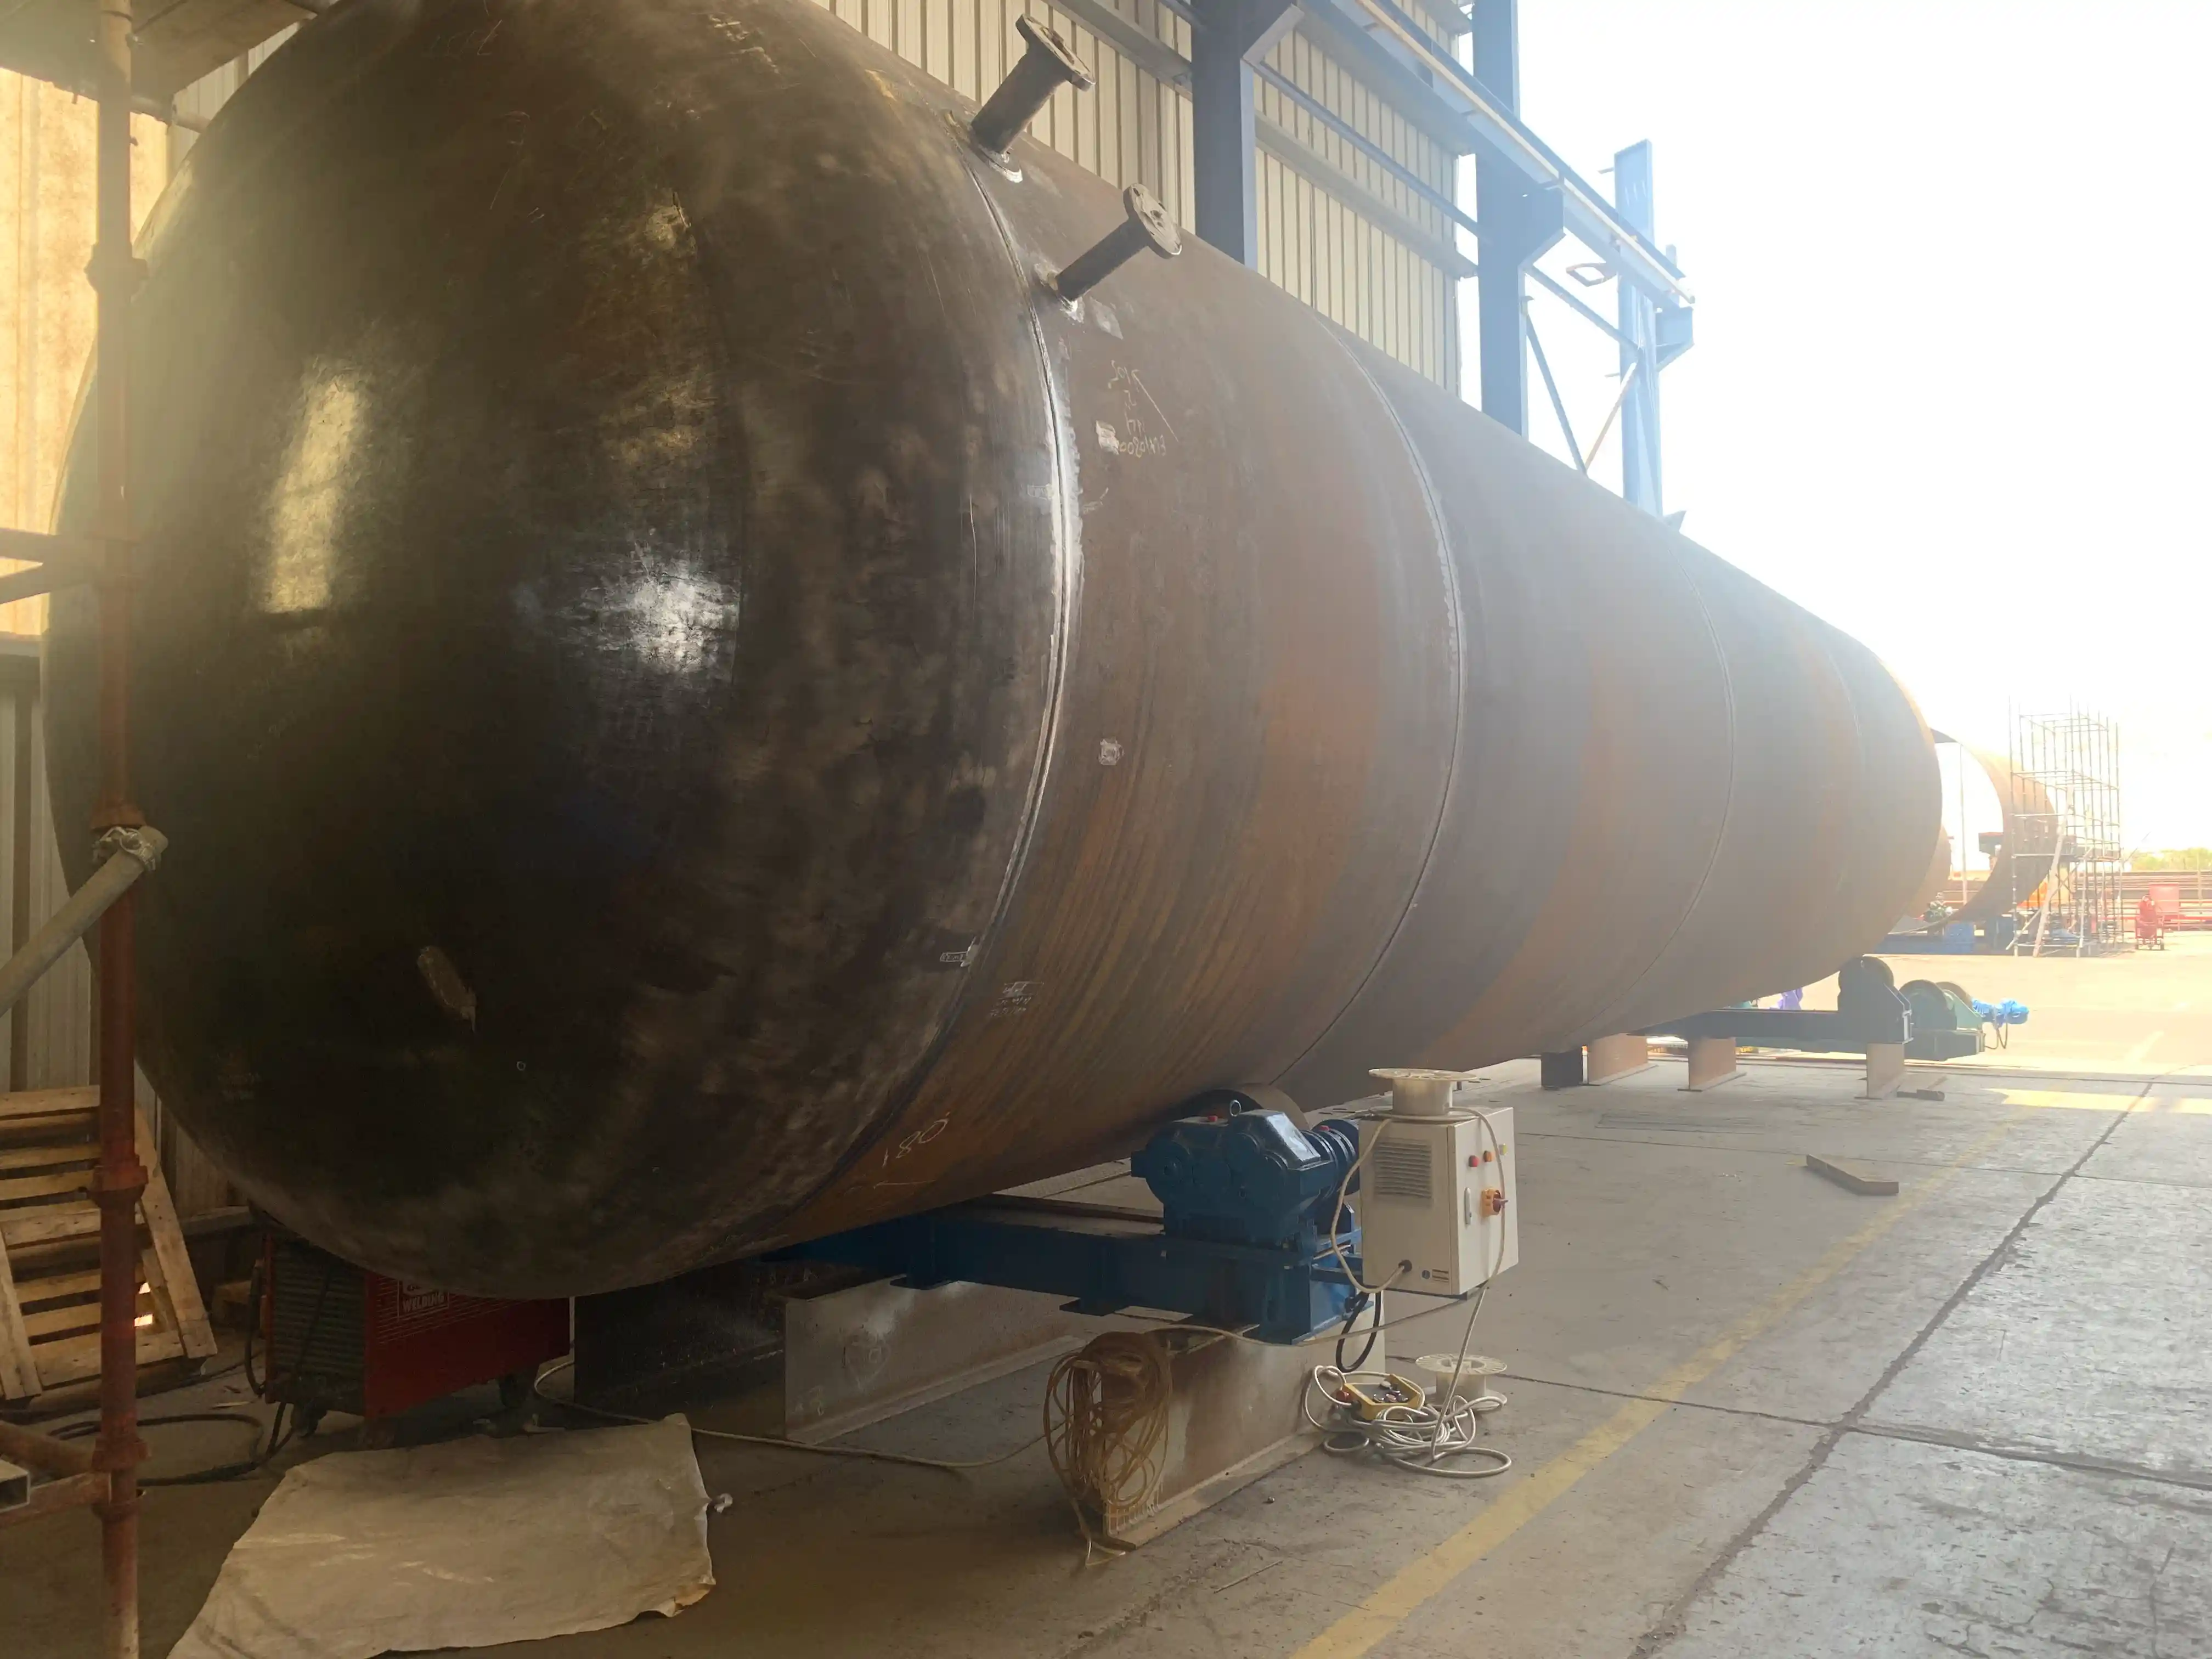
If you’re interested, check Boilers And Pressure Vessels How Welding Rotators Enhance Manufacturing Efficiency.
Exploring Key Principles and Methods of Fin-Bar Calibration
1. Fundamental Principles of Accurate Fin-Bar Alignment
Accurate fin-bar alignment hinges on geometric precision and consistent force application. Fins must sit perpendicular to the tube axis and hold uniform spacing. The job is to minimize angular and linear deviations so you keep clean contact for heat conduction. Material behavior, including thermal expansion, plays into long-term stability and cannot be ignored.
2. Manual Calibration Techniques and Their Limitations
Manual calibration often relies on visual checks and hand-held measuring tools. Technicians use jigs and fixtures to position fins, leaning on skill and experience. It is labor-heavy, slow, and vulnerable to human error. Hitting the tight tolerances expected of modern, high-efficiency economizers is a stretch with this route.
3. Advanced Automated Calibration Systems and Their Advantages
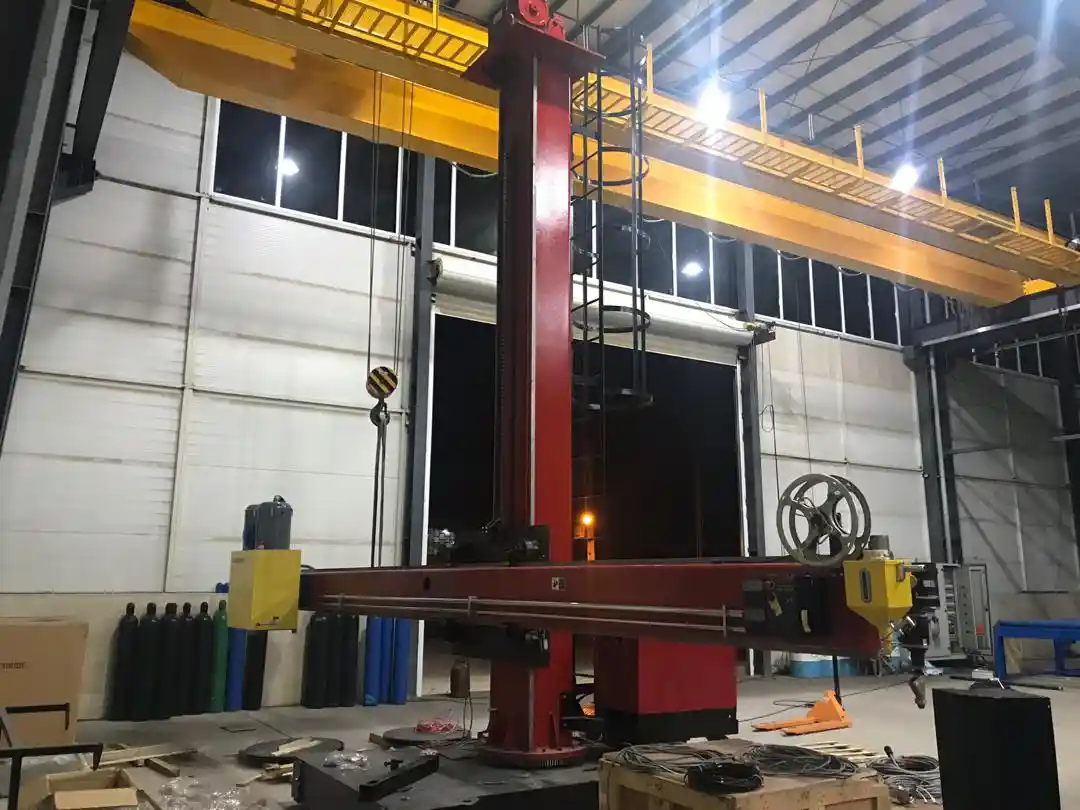
Automated calibration systems bring sensors, robotics, and software together for precise, repeatable results. They deliver higher accuracy and speed while cutting down human intervention. Integration with production lines enables real-time feedback and automatic adjustments. The payoff is better product quality and faster manufacturing cycles.

Essential Equipment and Tools for Precision Fin-Bar Calibration
1. Overview of Specialized Measuring Devices for Fin-Bars
Specialized measuring devices are the backbone of fin-bar calibration. Laser micrometers, optical comparators, and coordinate measuring machines (CMMs) are the usual suspects. They provide high-resolution data on fin dimensions, spacing, and alignment. That level of precision keeps components inside stringent quality specifications.
2. Calibration Jigs and Fixtures for Consistent Manufacturing
Calibration jigs and fixtures are custom-built to hold fin-bars in exact positions during assembly and calibration. They drive repeatability and cut setup time. Hardened steel and specialized alloys are common choices so the fixtures resist wear and hold accuracy through long production runs.
3. Software Solutions for Data Acquisition and Process Control
Software solutions play a central role in modern calibration. They collect data from measuring devices, analyze deviations, and command automated calibration equipment. Advanced algorithms tune alignment parameters and flag potential issues before they spread. This digital link improves process efficiency and traceability.
| Equipment Type | Key Function | Precision Level | Automation Level | Typical Application |
|---|---|---|---|---|
| Laser Micrometer | Non-contact dimensional measurement | ±0.001 mm | High | Fin thickness, spacing |
| Optical Comparator | Visual inspection and measurement | ±0.01 mm | Medium | Fin profile, alignment |
| CMM (Coordinate Measuring Machine) | 3D geometric measurement | ±0.005 mm | High | Complex fin geometries |
| Automated Calibration Rig | Robotic fin adjustment | ±0.02 mm | Full | High-volume production |
| Manual Jigs | Mechanical positioning | ±0.1 mm | Low | Low-volume, custom |
Implementing Best Practices for Optimal Fin-Bar Calibration Processes
1. Establishing a Robust Calibration Workflow and Quality Control
A solid workflow weaves calibration into every build stage. Start with pre-assembly checks, keep in-process verification tight, and finish with final quality assurance. We use statistical process control to watch consistency and surface trends early. Regular audits keep teams aligned with established protocols.
2. Training and Certification for Calibration Technicians
Training is the lever that keeps accuracy steady. Technicians need fluency in both manual and automated systems. Certification programs validate proficiency with specialized equipment and data interpretation. Ongoing development keeps skills current as technologies evolve.
3. Troubleshooting Common Fin-Bar Calibration Challenges
The usual suspects are material variation, tool wear, and the environment around the line. We counter them with strict material inspection, routine tool maintenance, and environmental controls. Data analysis helps spot the root cause of recurring issues so fixes are proactive rather than reactive.

The Benefits of Precise Fin-Bar Calibration for Economizer Production
1. Enhancing Heat Transfer Efficiency and Energy Savings
Precise fin-bar calibration ties directly to better heat transfer efficiency. When fins are aligned, more surface area meets exhaust gases and heat recovery improves. That shows up as energy savings and lower operating costs for end-users.
2. Improving Product Durability and Extending Service Life
Accurate calibration evens out stresses and helps avoid premature wear. With uniform heat distribution, thermal fatigue drops, and the economizer lasts longer. Reliability matters in industrial service, and this is where it starts.
3. Meeting Industry Standards and Regulatory Compliance
Tight calibration supports compliance with industry regulations and certifications. Safety, performance guarantees, and market acceptance all ride on that. Manufacturers signal their commitment to quality and reliability through rigorous calibration processes.
We recommend exploring Wuxi ABK Professional Welding Rotary Equipment Precision Welding Solution For Pressure Vessel Manufacturing.

Optimize Your Economizer Manufacturing with Precision Calibration
If you want precision and efficiency baked into your economizer builds, bring in a team that does this every day. Partner with Wuxi ABK Machinery Co., Ltd for expert support and advanced manufacturing solutions. We can talk through your requirements and implement best practices that lift quality without slowing throughput.
Contact us today:
Email: jay@weldc.com
Mobile: +86-13815101750
Tel: +86-510-83555592
FAQs
1. What are the primary consequences of poor fin-bar calibration in economizers?
Poor fin-bar calibration cuts heat transfer efficiency, drives up fuel consumption, and can trigger localized overheating. It also accelerates component failure, inflates maintenance costs, and risks non-compliance with performance standards. All of that undermines operational reliability and profitability.
2. How often should fin-bar calibration equipment be recalibrated?
Calibration equipment should be recalibrated on a regular schedule, about every 6 to 12 months, or as the manufacturer recommends. High-volume production or critical applications may need more frequent checks. Environmental shifts or any inconsistency you observe warrant immediate recalibration.
3. Can existing economizer manufacturing lines be upgraded for automated fin-bar calibration?
Yes, many existing lines can be upgraded. That usually means integrating sensors, robotic manipulators, and advanced control software. Feasibility and cost depend on current infrastructure and the target level of automation. A detailed engineering assessment is usually required.
4. What role does material selection play in fin-bar calibration accuracy?
Material selection has a major impact on calibration accuracy and stability. Materials with consistent mechanical properties and low thermal expansion coefficients are preferred. Variations in thickness or hardness can introduce inconsistencies during forming and calibration.
5. How do environmental factors affect fin-bar calibration processes?
Temperature swings, humidity, and vibration can all disturb calibration accuracy. Temperature changes cause materials to expand or contract, and vibration can spoil precise measurements. For high-precision work, a controlled environment is often necessary.
